Oh, hi! Just a quick blog post today. I've been bitten by the organization bug. Yep, it's time to go through all my stuff and start to de-stash. There's a link up at the top just in case you wanna see the stuff I'm hoping will find happy new homes.
Anywho . . on to the card. I created this one for a stamp club that I'm a part of. The theme this month is "Weather" . . . and I thought with all the cold weather we've been having, this would be perfect.
{Supplies used are linked in the text in this post. Compensated affiliate links may be used at no additional cost to you. Thank you for your support!}
And there's a video, too:
I gotta get back to organizing stuff in here. . . thanks for stopping by today!
Pal-entine. As in, a valentine for a friend, or good buddy, or pal. Get it? Ha! I crack myself up sometimes.
{Supplies used are linked in the text in this post. Compensated affiliate links may be used at no additional cost to you. Thank you for your support!}
Moving right along . . .
This is my last card for my 2019 Valentine's Day series. I've really enjoyed playing with so many different stamps and techniques. I hope you found some inspiration!
For this card, I decided to make it more of a friendship type of valentine, and thought the Lovely Pandas set would be perfect, especially because of the sentiment!
I started out by stamping the panda onto a piece of Neenah Solar White card stock using Extreme Black Hybrid ink.
Then, I colored him up with my Copics and die cut him with the coordinating die. I used one of the Stacking Hearts Honey Cuts and cut that from yellow polka dot paper.
I stamped the Bursting with Love background stamp in Cement Gray Hybrid ink and cut it down with a stitched rectangle die.
The fishtail banners are from the Blueprints 27 Die-namics set. I used the larger one for the sentiment. I stamped the sentiment in VersaMark ink and heat embossed it with white embossing powder. The thinner banner is cut from the Black and White Basics paper pad by My Favorite Things.
Then, I just adhered everything together. Here's the video, for ya:
Oh, hi! Only three more days til Valentine's Day! I've got a monster of a card for you today. Because, how cute is he??
{Supplies used are linked in the text in this post. Compensated affiliate links may be used at no additional cost to you. Thank you for your support!}
I actually did a bit of watercoloring. I know! Of course, I used my Distress Inks to do the watercoloring. . . they make it easy for me.
Anywho . . . I stamped that guy onto a piece of Canson Watercolor paper using VersaFine Onyx Black ink. It's perfect for watercoloring because it's waterproof, not to mention it's really good at catching little details. . . like his fur and those tiny teeth.
I wet the paper a bit before adding in the Distress Ink to keep the color where I wanted it be. I started out with Victorian Velvet for most of his body. I admit that I'm not too patient when I comes to waiting for things to dry, so he kinda ended up a different color . . .
For the background, I did some masking, ink blending, stamping, and then created grassy hills with a few Copics.
Here's the video showing how it all came together:
Oh, hi! I've got another Valentine's Day card today using stamps from a "new to me" company. Can you even handle the cuteness??
{Supplies used are linked in the text in this post. Compensated affiliate links may be used at no additional cost to you. Thank you for your support!}
I started by stamping the panda from the Lovely Pandas stamp set by Gerda Steiner Designs on a piece of 80# Neenah Solar White card stock. I then masked the bottom of the bear so when I stamped the pile of hearts, it would appear that he was sitting on top of them.
I used my Copics for all the coloring and added a few highlights with a white gel pen.
You can see how the card came together in the video:
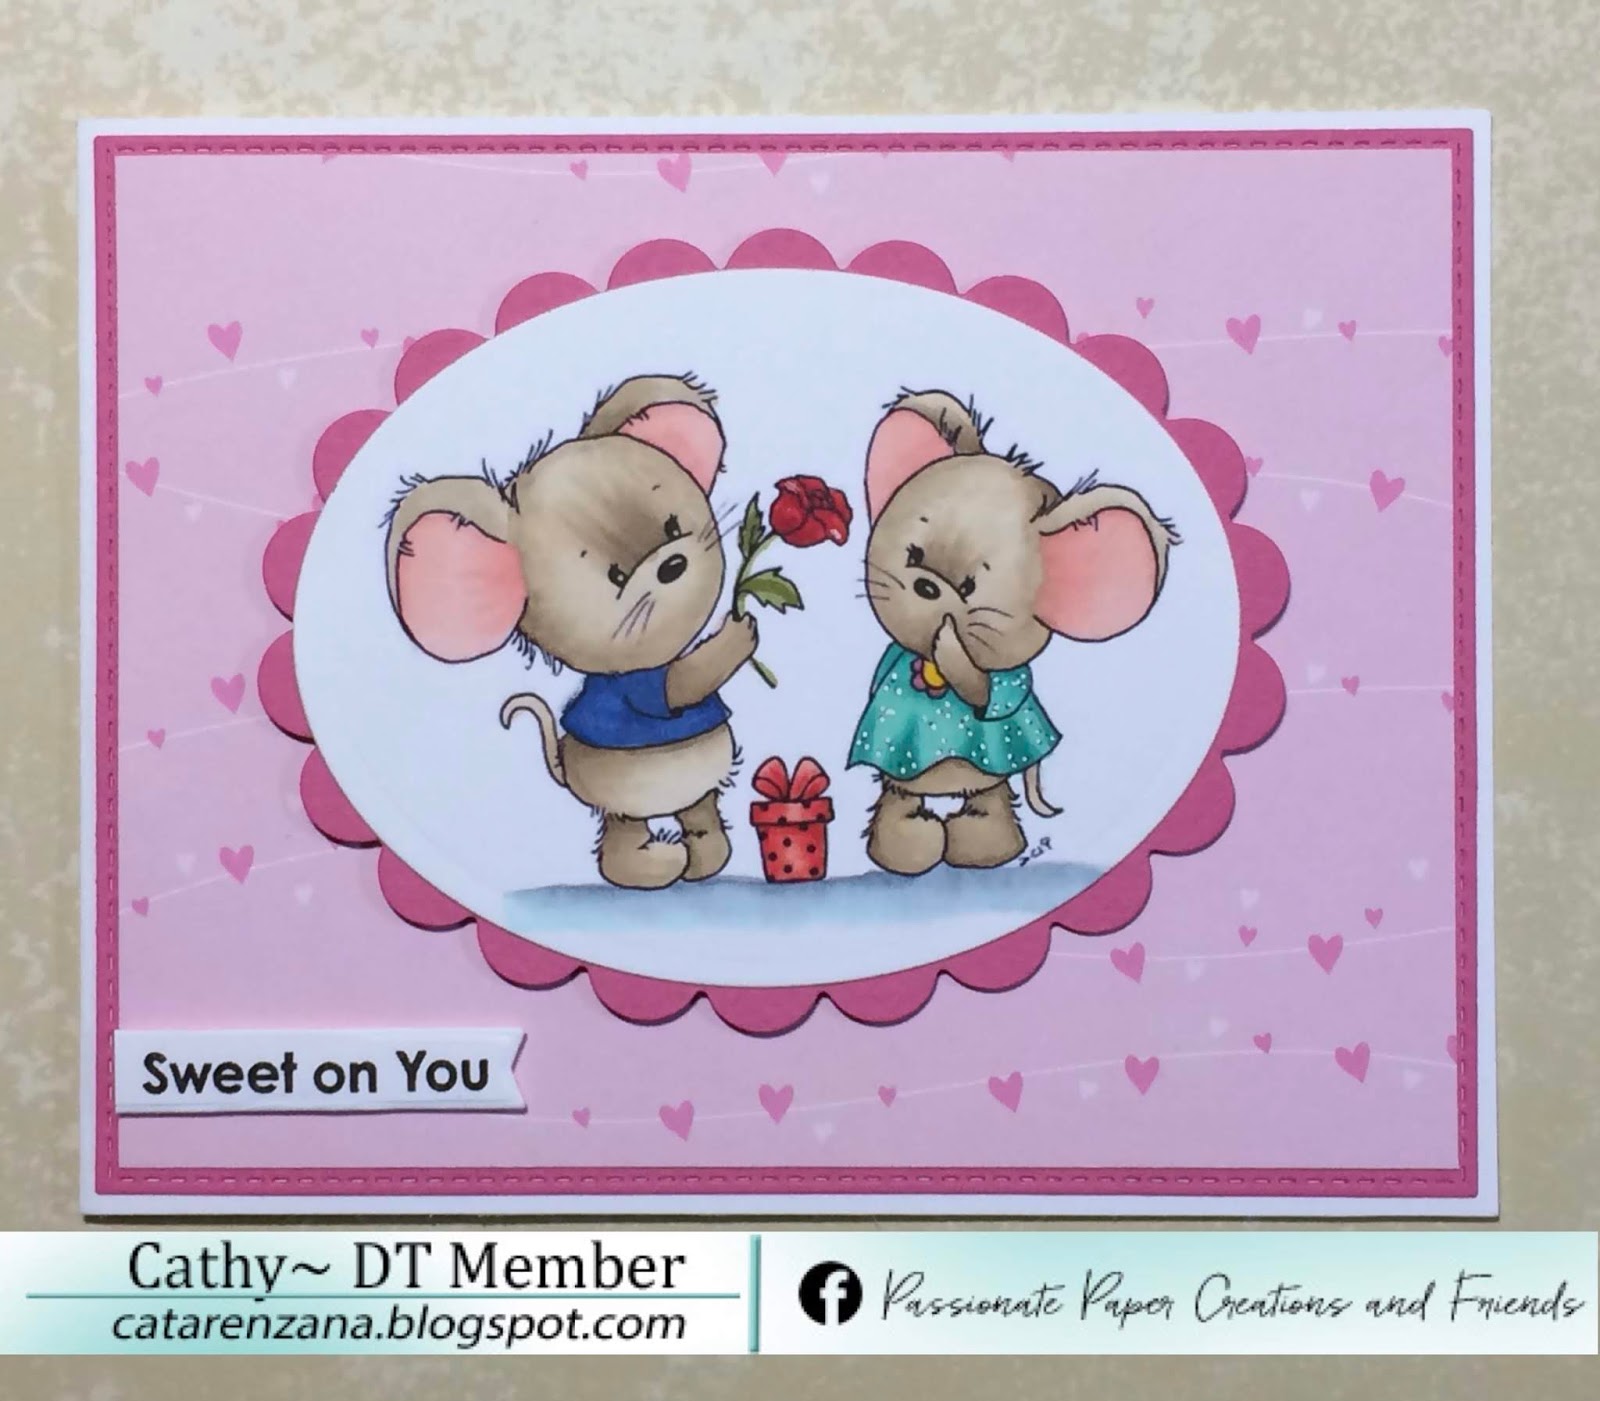
Oh, hi! When I saw this free Valentine digital stamp from Di's Digital Stamps, I just had to download it and make a quick card with it. I mean, really . . . look look look at how cute this is!
{Supplies used are linked in the text in this post. Compensated affiliate links may be used at no additional cost to you. Thank you for your support!}
Next, I used my Classic Oval dies to cut it out. Adhered that to a pink scalloped oval that I cut using my Classic Scalloped Oval dies and adhered them together.
I trimmed a piece of patterned paper down to 4" x 5 1/4" and adhered that to a pink panel that measures 4 1/8" x 5 3/8". Gotta have all the layers, ya know.
Oh, hi! I'm moving right along in getting videos edited. Yahoo! Here is today's card:
{Supplies used are linked in the text in this post. Compensated affiliate links may be used at no additional cost to you. Thank you for your support!}
I think this owl is so cute! And he was really easy to color, too! And that gray plaid background? Oh, I did that with a Diagonal Stripes background stamp.
Here's the video showing how the whole card came together:
Oh, hi! Yep. . .still motoring along with Valentine's Day cards. I have so.many.ideas. For this particular card, I wanted to try and make it a little bit more neutral and masculine, which was a bit of a challenge for me, because . . .well, I love pink and hearts for Valentine's Day.
Anyway, here's the card:
{Supplies used are linked in the text in this post. Compensated affiliate links may be used at no additional cost to you. Thank you for your support!}
Oh, I did a bit of masking, ink blending, Copic coloring, paper piecing, heat embossing . . .yep, I pretty much did a little bit of everything.
I started out by creating a mask with one of the Stacking Hearts Honey Cuts. I die-cut it from scratch paper and then used Zig Two-Way Glue on the back. I set it off to the side to dry because by doing that, it becomes repositionable.
Next, I arranged a few of the coffee sentiments from the Perfect Blend stamp set onto an acrylic block, put the mask in place on a piece of Desert Storm Card Stock and randomly stamped the sentiments with VersaMark ink.
I covered that with detail white embossing powder and heat set it until it was nice and shiny. Once it was cooled off enough, I put the mask back in place and did some ink blending using Abandoned Coral, Candied Apple, and Fired Brick Distress Oxide inks.
I stamped the coffee cup twice using Chocolate Brown Hybrid Ink onto a piece of Neenah Solar White card stock and colored them up with my Copics. Yep, I did some fussy cutting, too.
Oh, but for the heart in the middle of the coffee. . .I wanted it to be foamy, so I coated it with Glossy Accents and then used White Puff Embossing Powder.
You can see how it all came together in the video:
Oh, hi! I've got a quick blog post for you today. Valentine's Day is right around the corner and I have lots of cards to share. Videos, too. . . and I'm a bit behind on getting those things edited and uploaded. Long Story. And that story will probably end up in a video.
Anywho. . . here's my card for today. Yep, a mouse! Isn't she so sweet? She's got a nice chocolate covered strawberry to give to her Valentine, but . . .
{Supplies used are linked in the text in this post. Compensated affiliate links may be used at no additional cost to you. Thank you for your support!}
. . . apparently the temptation was too much and she had to have a taste. I hate to admit it, but that would be something I would do!
In the video, I share how to "alter" her overalls and how to get a bite out of the strawberry. So, for your viewing pleasure, here it is: