It's true . . . it's very rare that a "mistake" cannot be fixed when it comes to card making or any paper crafting project really . . . consider it an opportunity for embellishment, or practicing fussy cutting.
Hence, my next two cards.
Perhaps you recall the other
Orchid cards? There is a spray of unopened buds that comes out from the flower in the top right. Well, I attempted to do a partial die cut on this one and all I can say about that is, "Whoops."
So, I just grabbed those scissors o' mine and cut it out. See? Problem solved.
I used Gray Flannel Memento ink to stamp the orchids and I ever.so.lightly sponged Tattered Rose Distress ink on the oval behind the orchids.
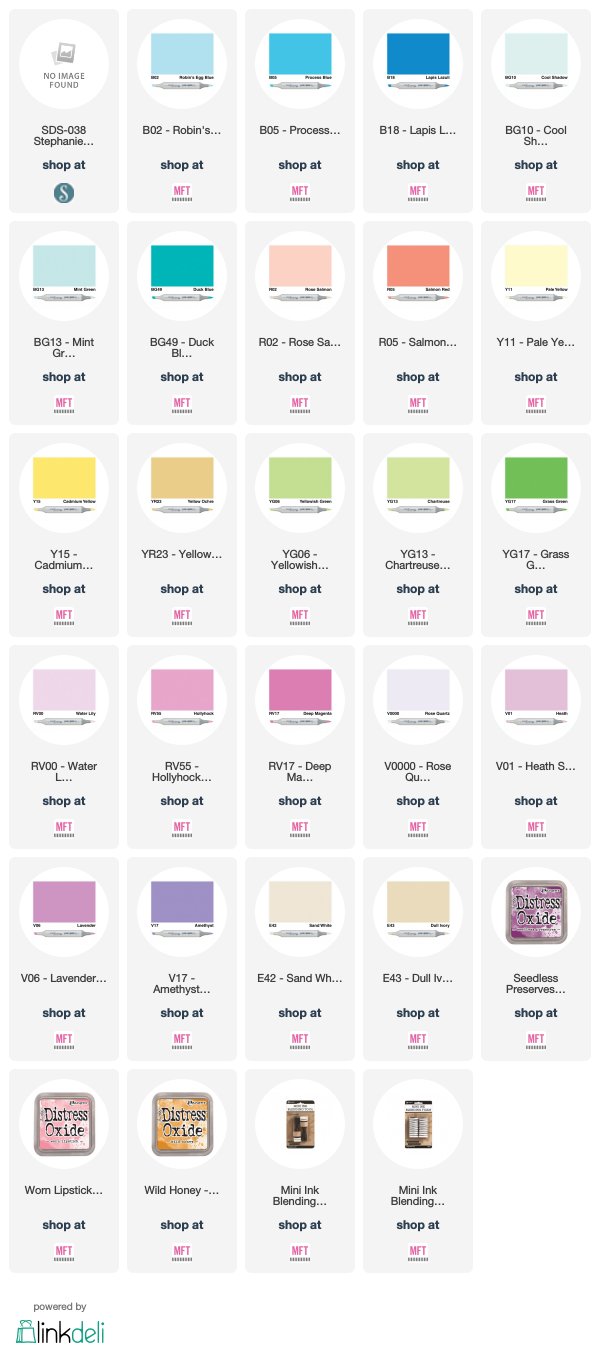
Here are the markers I used:
On this next card, I had originally covered the image with a mask and sponged around it, with the intention of having the focal point of the card be a rectangle. But one slip of the paper trimmer, and whoops! Time to grab the scissors . . .
For the background die, I used the
Majestic Labels 25 from Spellbinders. I am in love with all the intricate details in this die set! I also sponged a tad bit of Antique Linen Distress ink around the edges.
Here are the markers I used to color the orchids:
Thanks for visiting today!