 |
| {Supplies used are linked in the text in this post. Compensated affiliate links may be used at no additional cost to you. Thank you for your support!} |
Anywho, this card was pretty simple to create. . . I randomly stamped the cheese onto a die-cut heart and added a bit of shading with Copic markers.
Then I stamped the mouse onto a piece of Neenah card stock and colored him (for this card he's a "he") using Warm Gray Copics.
And then I ran him through my die cut machine with the coordinating die. You guys! The die actually cuts around his little arms so all the accessories that are in the stamp set can be placed to look like he's holding it! Obviously, there is a piece of cheese in the set, but there's also a cookie, a rose, a letter, a strawberry . . . and so.much.more!
Seriously, my brain nearly exploded will all the ideas, and I can't seem to stamp fast enough.
Whoops . . . I went off on a bit of a tangent there. So, before I do that again, here's a video for you:
And, here are the supplies I used:
Mae the Mouse stamps by Honey Bee Stamps
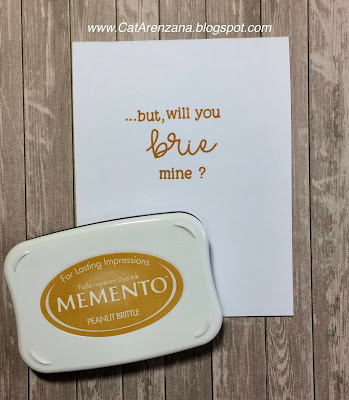
Brie Mine by Honey Bee Stamps
Copics used:
Mouse Body - W4, W3, W2, W1
Mouse Ears and Nose - R20, R00
Tail - E43, E42, E41
Cheese - Y23, Y26, YR21, YR24
I can't wait to create more goodies with these stamps!
Thanks for stopping by today!


No comments:
Post a Comment