
Speaking of fuzzies, you guys. . . I have stuff. Lots of stuff. Stuff that I have had for years. So, when I saw the Monster Love set by Concord and 9th, I squealed with delight. For two reasons, really.
1) There was a similar set available during Stamptember and I missed it. (Insert sad face)
2) When they released Monster Love (insert very happy face), I knew exactly what I wanted to do.
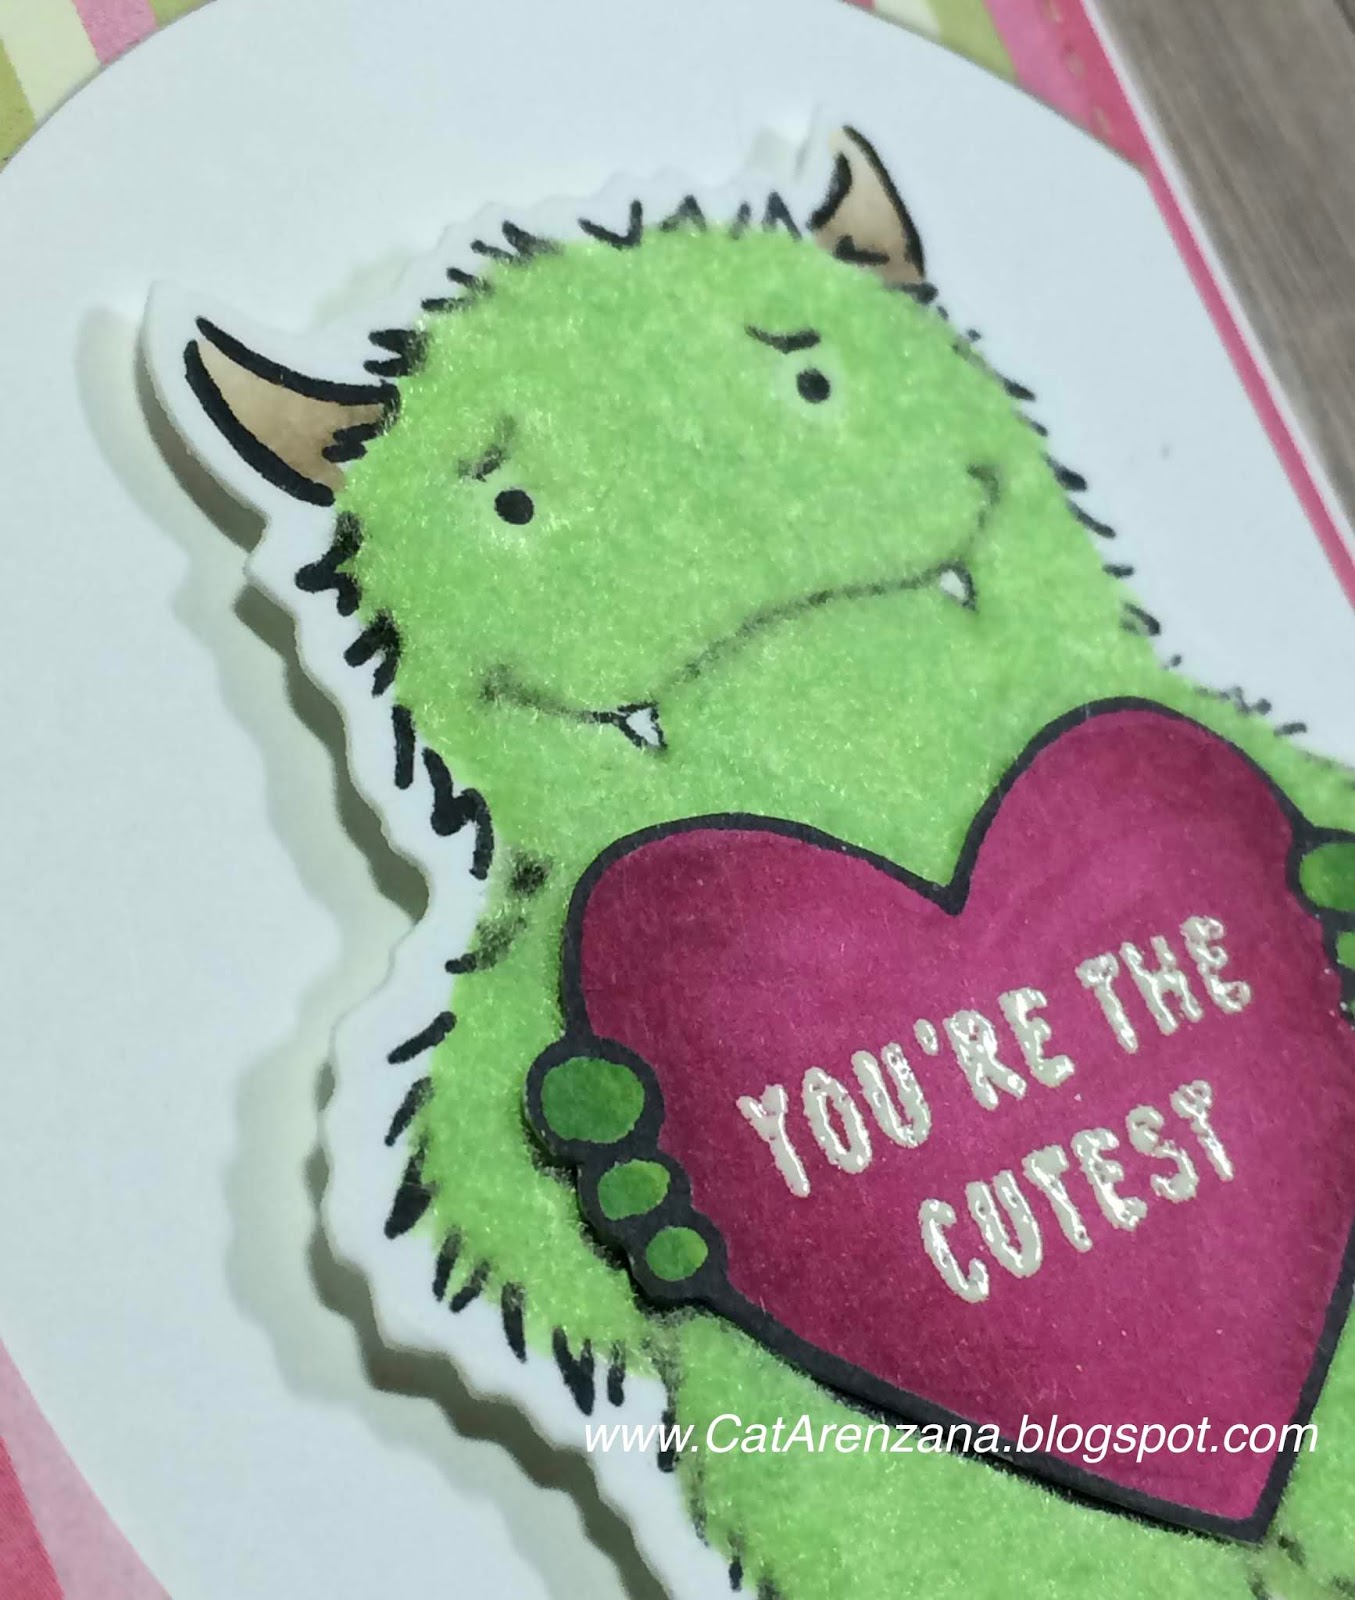
Make.them.fuzzy.
 |
| {Supplies used are linked in the text in this post. Compensated affiliate links may be used at no additional cost to you. Thank you for your support!} |


Okay . . . back to "stuff" . . . some of the stuff I have in my stash is Fun Flock from Stampendous. And, I have it in a variety of colors. Sadly, when I went to look for a link, they only have white.
So, I consulted with the Google and I found it on eBay. But, it was listed as 3D Nail Decoration.
As in fingernails.

Anywho . . . I'm pretty sure it's the same stuff, so let's move on to the cards (you can click on the images to enlarge them):


There are a few things I want to point out when using this fuzzy stuff:
- A stamp positioner will be most helpful. I used a Stamp Platform.
- I found that Tombow Multi-Mono Liquid Glue gives the best results.
- Coloring the image first with a Copic (or any other alcohol) marker that matches the color of the Fuzzy Stuff will ensure that your critter doesn't have any bald spots.
- If you have a vent over your work space, you might want to make sure the heat or A/C doesn't kick on.
- If you have a window near your table, keep it closed in case there is a sudden gust of wind.
- If you have a ceiling fan or table fan, turn them off.
- Above all else, do not sneeze or cough anywhere near your project when using this stuff.
Now with all of that being said, here's a video for ya:
I only show the flocking technique once at the very beginning and debated on whether or not to include the other two cards in the video.
But, there is a trick to gluing stuff on top of the Fun Flock, like the pink monster's hand holding the balloon, and I couldn't leave that out.
And well, the blue monster was just too cute, so I couldn't leave him out, either.
Finally, here is a list of all the goodies I used:
Monster Love Stamps and Dies by Concord & 9th
Brie Mine by Honey Bee Stamps
Diagonal Stripes by Gina K. Designs
Neenah Solar White Card Stock
Extreme Black Hybrid Ink
VersaMark Ink
Memento Luxe Wedding Dress Ink
Spun Sugar Distress Oxide Ink
Mini Ink Blending Tool
Full of Heart Stencil
White Embossing Powder
Stitched Rectangle Dies
Classic Circle Dies
Gray and White Bakers Twine
Copic Markers:
Green Monster:
Body - YG11
Hands - YG17, YG25
Heart - RV 19, RV17
Horns (for all three monsters) - E43, E42, E41
Pink Monster:
Body - RV55
Belly and Hand - RV13, RV10
Balloon - BG49, BG23, BG11
Blue Monster:
Body - BG10
Hands - BG11
Heart - R83, R81
Thanks so visiting today!
No comments:
Post a Comment