

Now then, before I go into what you need and how to do it, I want to first share with you a few issues that we ran into (and by we, I mean my husband, because he's awesome and actually did all the work).
1. When you go to Michael's, go to the ink isle first and grab a Distress Ink Pad. You'll see why in just a second.
2. When choosing your crates, make sure they are all the same height. We didn't do that and ran into quite a issue.

3. After you choose crates that are all the same height, you'll want to make sure that the top and bottom also line up as you are looking down at the interior of the crate. I couldn't figure out how to change the color of the line from white to red when editing the photo, so just be aware that those bold white lines show what I'm talking about. I'm hoping the arrows also make it more clear.

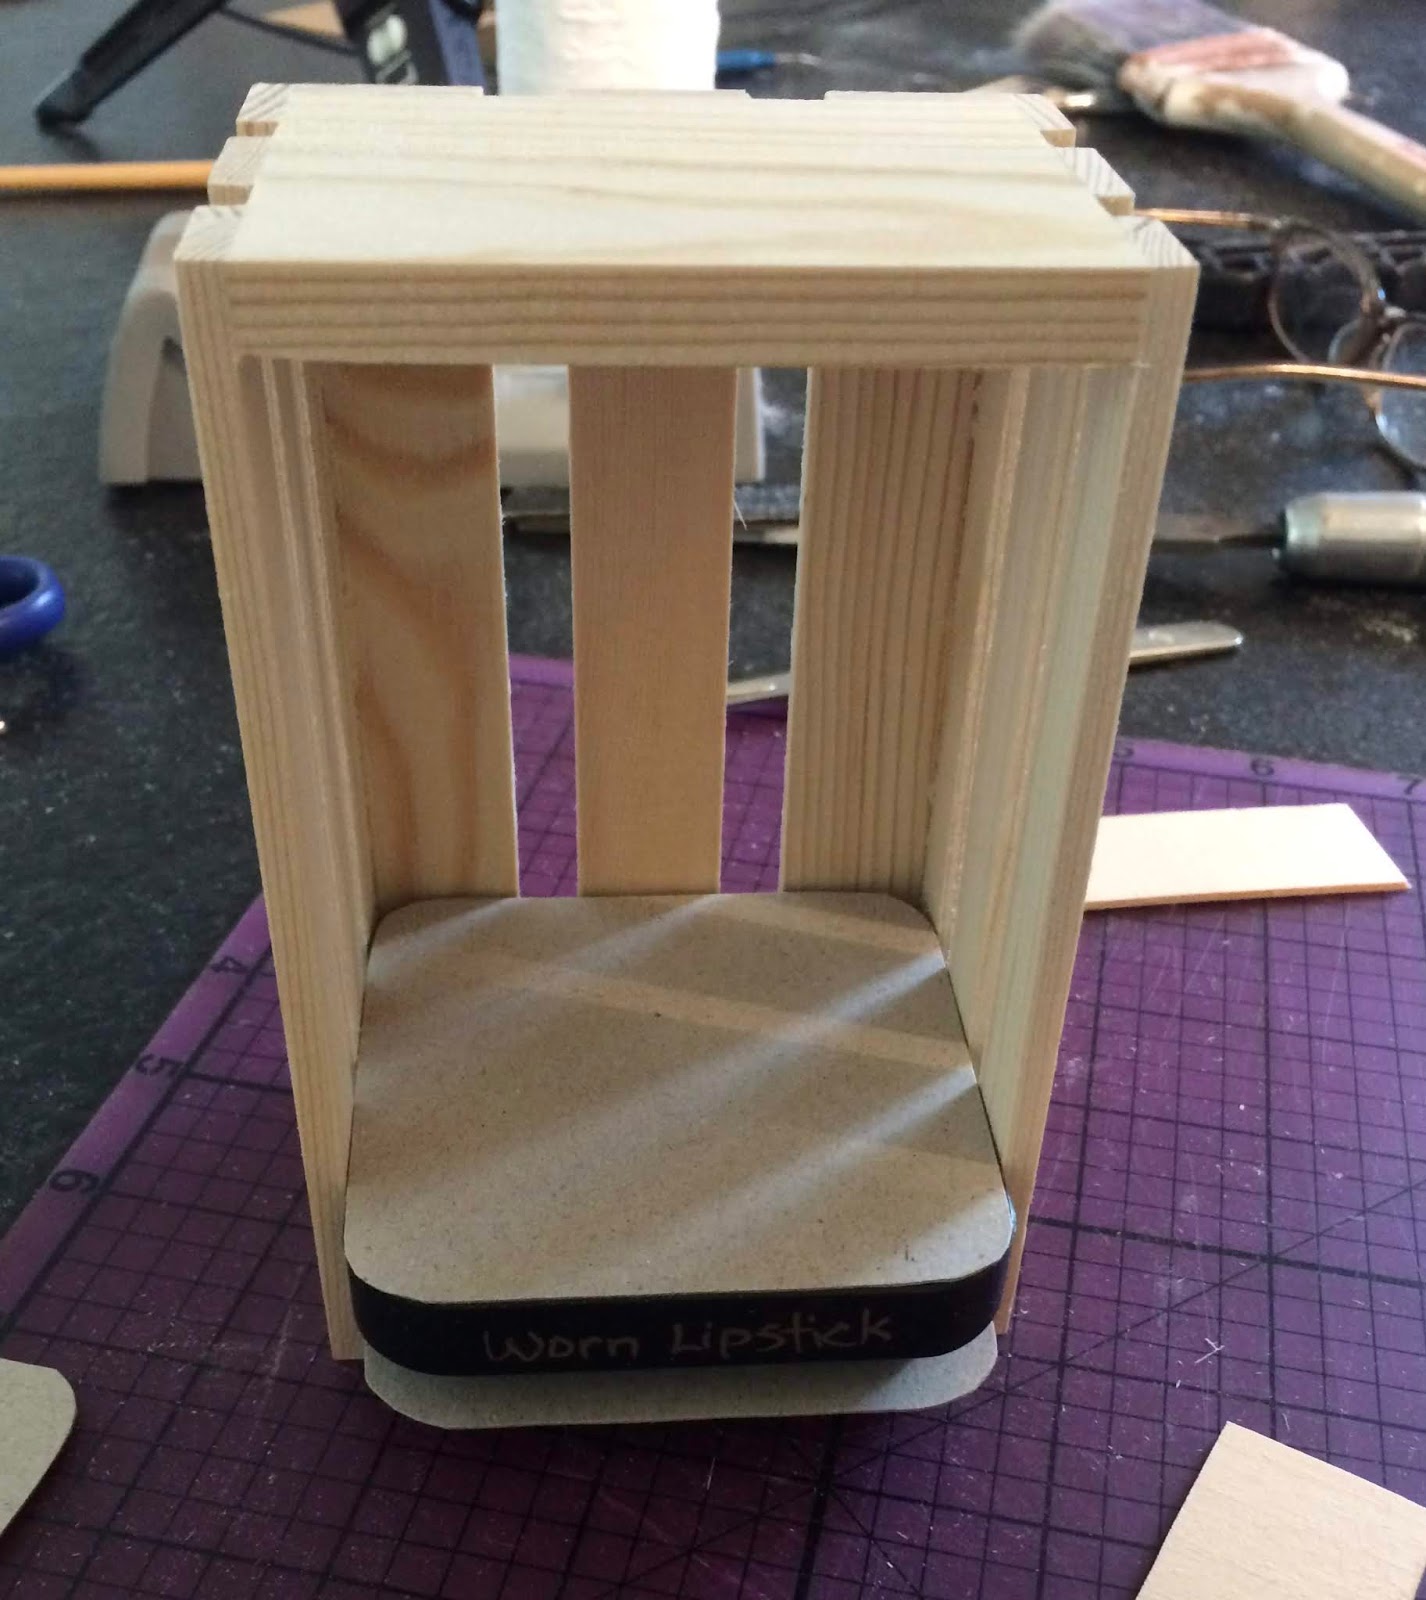
4. And finally, once you have chosen all the crates, place the ink pad in a crate as shown in the photo and make sure you can slide it all the way up to the top.

Okay, on to the good stuff. Ready? Here we go!
Supplies needed:
- Twelve (12) Mini Wood Crates by ArtMinds measuring 5" x 3.13" x 2.63 (available at Michael's for $1.00 each)

- Two (2) Pieces of Basswood measuring 1/8" x 3" x 24"

- Pencil
- Ruler
- Craft Knife and Cutting Mat
- Wood Glue
- Toothpick or some other skinny, pointy thing to apply glue
- Medium weight chipboard
- Sandpaper
- Five (5) Distress Ink Pads (to help place the shelves)
Step 1:
Use the ruler and pencil to draw 1" sections on both pieces of Basswood.

Step 2:
Use a craft knife or box cutter to cut the Basswood. You might have to go over the the pencil line a few times to get the wood to cut, but it is pretty easy to do.
Step 3:
You'll need four "spacers" to help place the "shelves." Trace around an ink pad on the chipboard and cut them out. They don't have to be perfect, just be sure they don't hang over the edge of the ink pad.

Step 4:
Place one of the chipboard pieces on the bottom of the crate, then an ink pad, then another piece of chipboard.
Step 5:
The shelves should be comfortably snug against the sides of the crate. If you have difficulty placing it, lightly sand down one side of the shelf. Then, apply a small amount of wood glue on the short ends of the shelves and carefully place on top of the chipboard. Be sure not to push the shelf all the way back. The edges should be lined up with the front of the crate.

Step 6:
Place a piece of chipboard on top of the shelf, then another ink pad, and another piece of chipboard. Glue in another shelf.
***Important note: Before placing the chipboard on the shelf, make sure there isn't any glue for it to stick to. The chipboard pieces are just "spacers" and need to be removed.***
Step 7:
Carefully remove the chipboard pieces from the bottom, leaving the ink pad in place. Use these chipboard pieces to repeat the steps to add two more shelves.
Each crate will have four shelves and can hold five Distress Ink Pads.


And there ya have it! Storage for 60 Distress Ink Pads for less than $20.00!
If you have any questions, feel free to reach out.
Thanks for stopping by today!
No comments:
Post a Comment