
 |
| {Supplies used are linked in the text in this post. Compensated affiliate links may be used at no additional cost to you. Thank you for your support!} |
And here is the first card:
 |
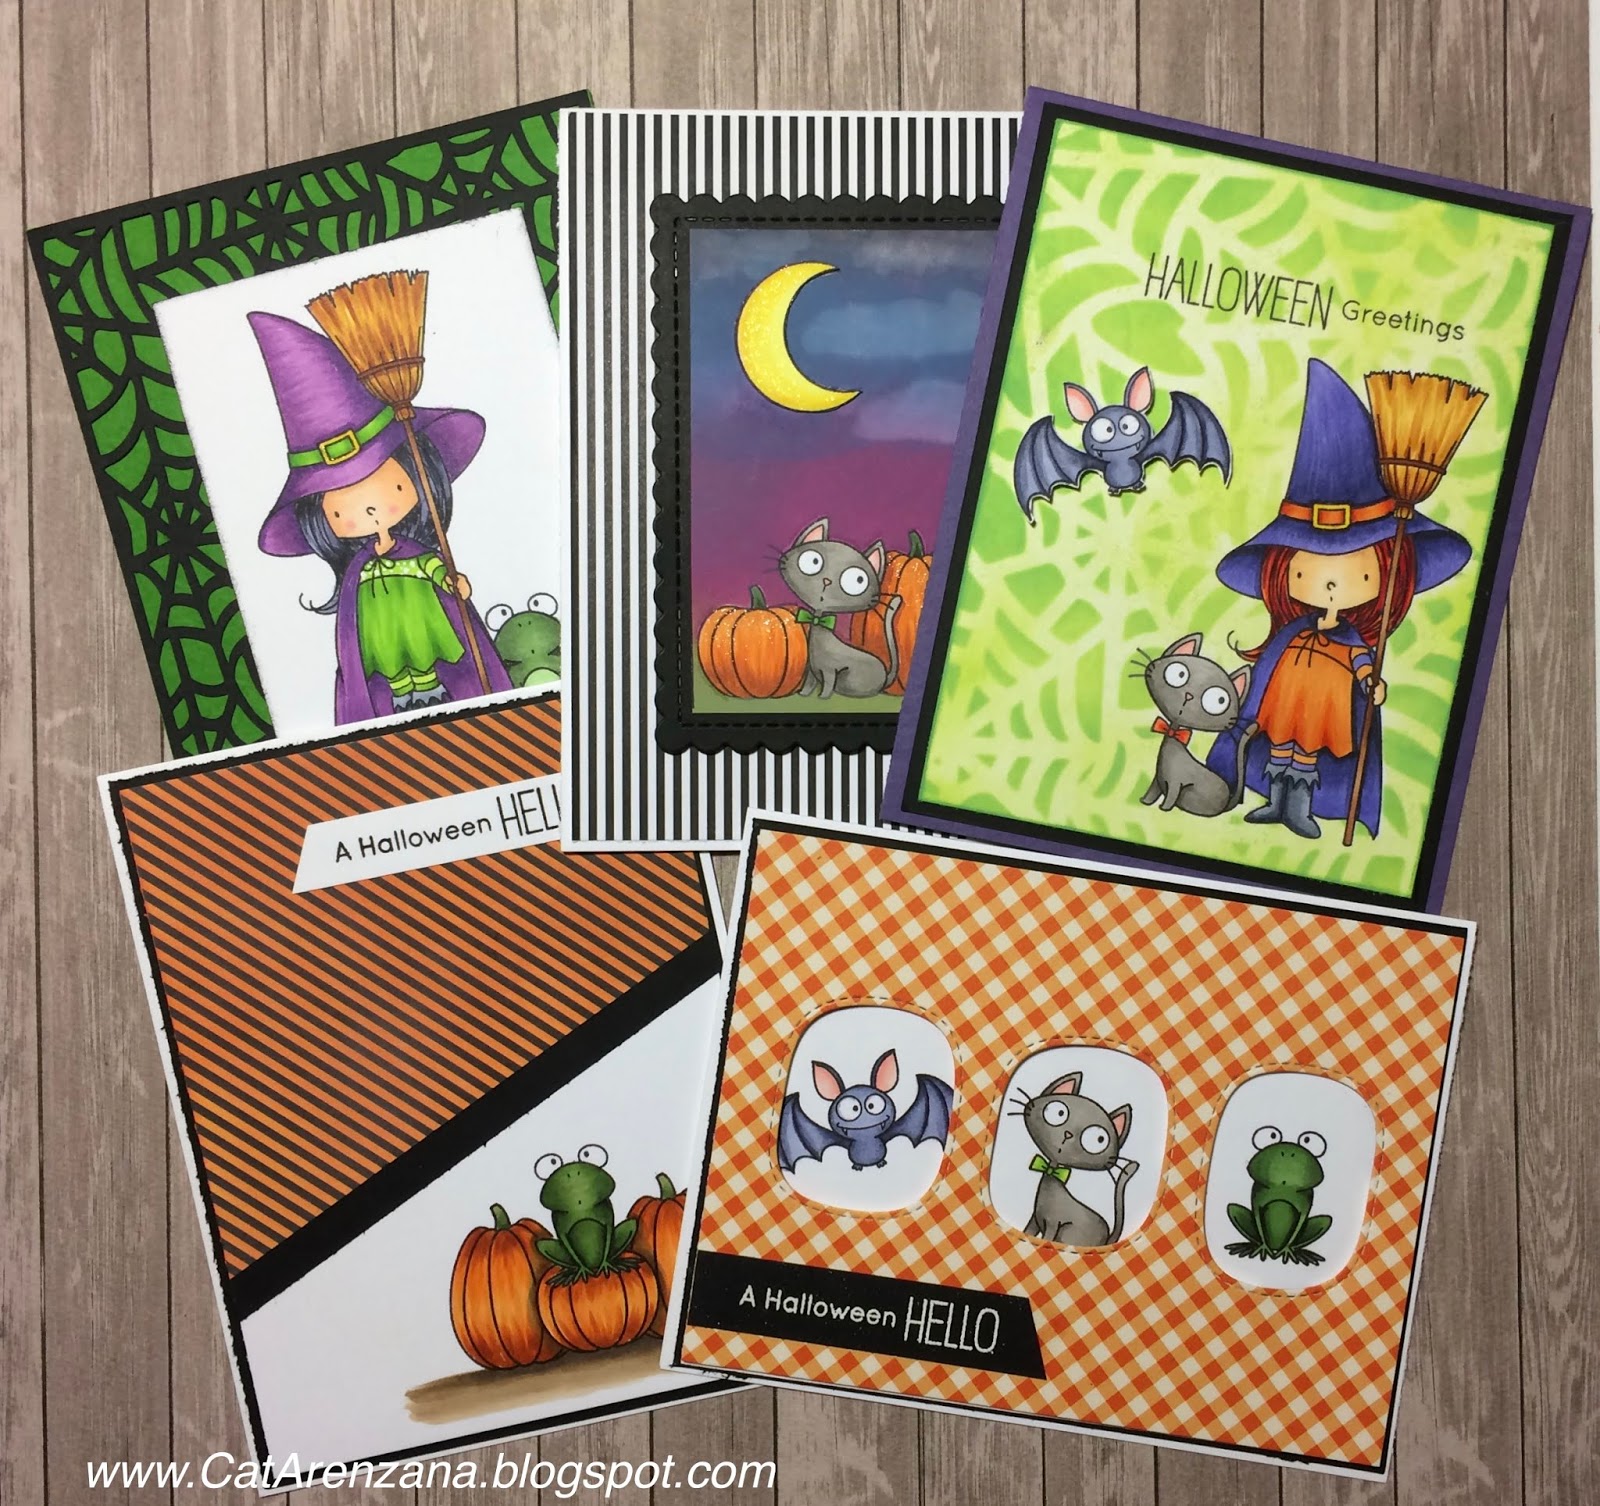
To get started, I stamped the frog and pumpkins from the Witch Way is the Candy stamp set onto a piece of scratch paper to get an idea for placement. Once I was happy with that, I created masks for the frog and the pumpkins and used my stamp positioner to stamp the images on a 4" x 5.25" panel of Neenah Solar White card stock using Memento Tuxedo Black ink.
After all the stamping was done, it was time to do some coloring!
I used the following Copic Markers:
Frog - G99, G94, G43 and YG93
Pumpkins - YR27, YR15, YR12
Shading around the small pumpkin - W3, W4
Ground - E43, E42, W4
The striped paper is from the Black and White Basics paper pack from My Favorite Things. But, I decided that I wanted it to be black and orange instead of black and white, so I used my Carved Pumpkin Distress Oxide ink and mini ink blending tool to change the color.
I adhered that on top of the stamped panel and trimmed down the excess. I added a strip of black card stock to cover the seam from the patterned paper. Then I mounted that onto a piece of black card stock measuring 4 1/8" x 5 3/8". I adhered that to a top folding white card base and to finish off the card, I stamped the sentiment on a piece of white card stock and attached it with liquid glue. Ta-da! All done!
Next up, Card #2:

I started out by stamping and coloring the witch on a white panel. I decided after I had her all colored that she needed a buddy, so I masked her off and stamped and colored the frog.
Here are the Copics I used:
Hat and Cape - V12, V15, V17
Buckle on the hat - Y08 and Wink of Stella Glitter Pen
Dress, Band on Hat and Tights - YG01, YG03, YG17, YG25
Broom Bristles - Y21, YR23, YR27, E09, E99
Broom Handle - E31, E33, E27
Skin - E21, E00, E0000, R20
Hair - 100, BV23, BV25, BV29
Boots - C1, C3, C5, C7
Frog - G99, G94, G82, G40
Ground - E43, E42
After I was done coloring, I cut the panel down to 2 3/4" x 4" and lightly inked the edges the with black ink.
For the spider web background, I turned to my trusty Cricut Explore Air to cut it out. The image is the Spider Web Placemat from the Anna Griffin Seasonal Soiree digital cartridge.
Once I had it loaded on my digital mat, I resized it to 4.25" 5.5" so it would cover the front of my card. Sent off to my Cricut to be cut from black card stock and Viola! A really cool background!
I used a Ball Point Glue Pen around the edges of the die cut and a few dots of Tombow Multi Mono Liquid Glue in the centers of a few of the spider webs to adhere it to the front of a green top folding card.
I adhered the stamped panel to the front of the card and Ta-da! All done.
Thanks so much for visiting today . . . and check back soon for the second video and the next two cards.
No comments:
Post a Comment