About Me

Showing posts with label Cricut. Show all posts

Tuesday, September 17, 2019

Trinity Stamps Candy Jar

Oh, hi! I'm super excited to share this card with you!  Halloween is my favorite holiday.  And, when I saw this set by Trinity Stamps, I just knew it would be perfect to fill up the jar with Halloween candy . . . . and a few eyeballs for good measure.

{Supplies used are linked in the text in this post.
Compensated affiliate links may be used at no additional cost to you.
Thank you for your support!}
You can see how the whole card came together in the video.  And, I must apologize for saying the word "jar" so much . . .I guess I was trying to be super specific. LOL.


 Supplies Used:

Candy Jar by Trinity Stamps
Fall/Halloween Sentiments by Stamping Bella
Neenah Solar White Card Stock
MFT Cement Gray Hybrid Ink
VersaFine Onyx Black Ink
Carved Pumpkin Distress Oxide Ink
Make Up Blending Brushes
Perfect Pearls
Copic Markers

Copics Used:

Candy Corn - Y17, Y15, YR07, YR04
Green Candy - YG25, YG03, YG21
Lollipops - V15, V12
Candy Sticks - BV29, YR04, Y15
Eyeballs - C3, C1, 100
Jar - BV20, C3, C1, YG00
Tabletop - E43, E42, E41

Thanks for stopping by today!

Wednesday, January 16, 2019

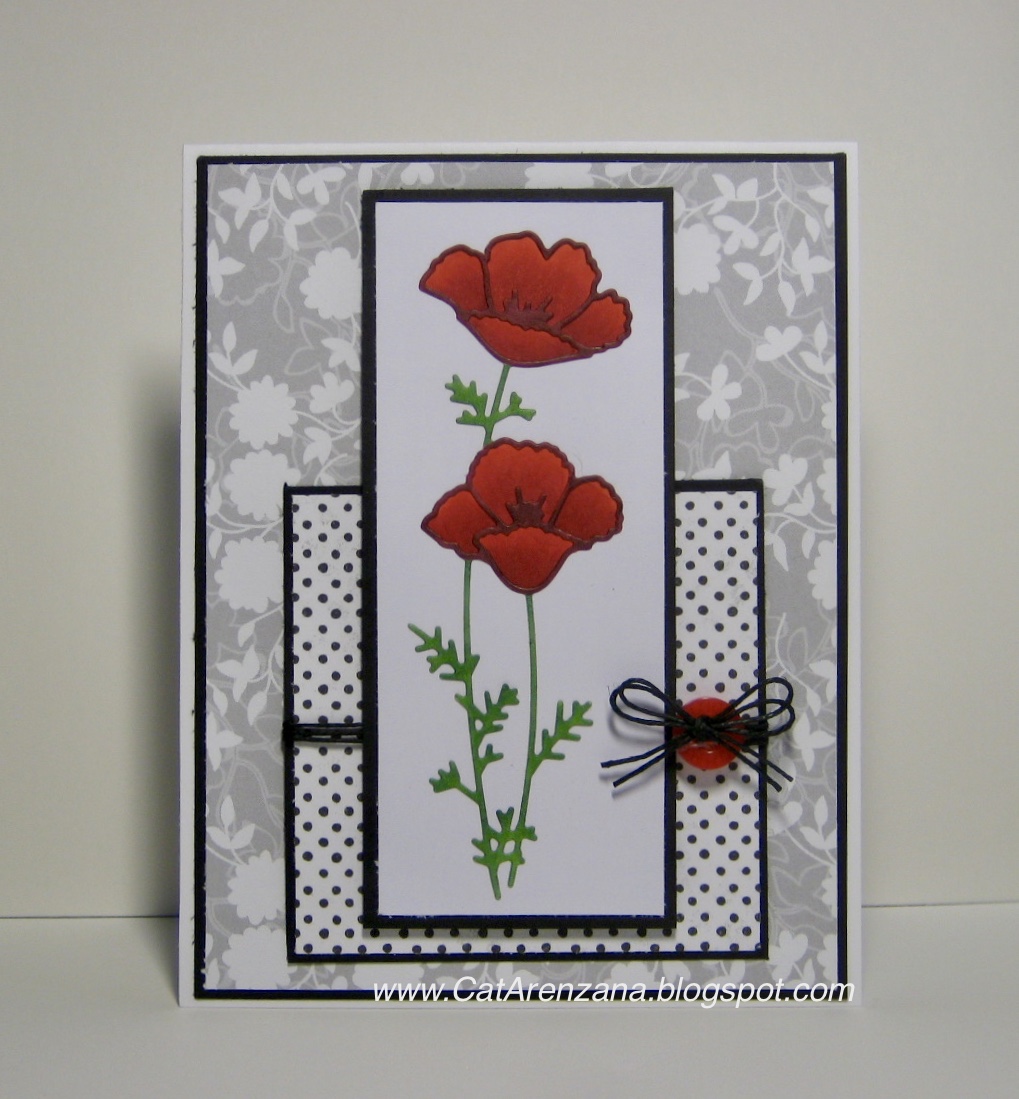
Hello Bouquet

Oh, hi!  Yep. . .you guessed it. I'm still working with the Hello Lovely stamp set.  It's a thing I do when I get a new set.  I try to make as many cards as I can with different layouts and techniques.

{Supplies used are linked in the text in this post.
Compensated affiliate links may be used at no additional cost to you.
Thank you for your support!}
So, for this card, I decided to use the whole floral spray and incorporate my Cricut so I could inlay a die-cut word.


I started out with a piece of 80# Neenah Solar White card stock that measures 5.5" x 4.25".  I stamped the image using Altenew's Dark Chocolate ink.  Since I was going to go with pink flowers, I thought that a brown ink would be a little bit softer than black ink.

After I had the main image stamped, I stamped the layers of the large pink flower with Frosty Pink, Cotton Candy, and Coral Berry inks by Altenew.  I stamped the pink bud with Cotton Candy.

The yellow flowers were stamped in Mango Smoothie and the little daisy-ish flowers were stamped in Sno Cone.

The leaves were stamped in Memento Pear Tart, except the tiny sprig-like branches.  I colored those in with a YG21 Copic marker.

Once all the stamping was done, I set up my Cricut to cut out the word "Hello."  I did a video tutorial on how to do that for a previous card . . . you can see that right here.

After my Cricut was done cutting, I ran the stamped panel through my die-cut machine with a stitched rectangle die.  (yeah. . . I just recently acquired two sets of stitched rectangle dies. . . and I love them. . . and I'll probably be using them in every project.)

From there is was just a matter of putting the card together.  I have a few tips for doing that in the video:


Now, I can't say that there won't be more cards using this set. . . but truthfully, I'm really looking forward to making more Valentine's Day cards. . . which I'm going to go do now.

Thanks for stopping by today!

Saturday, October 27, 2018

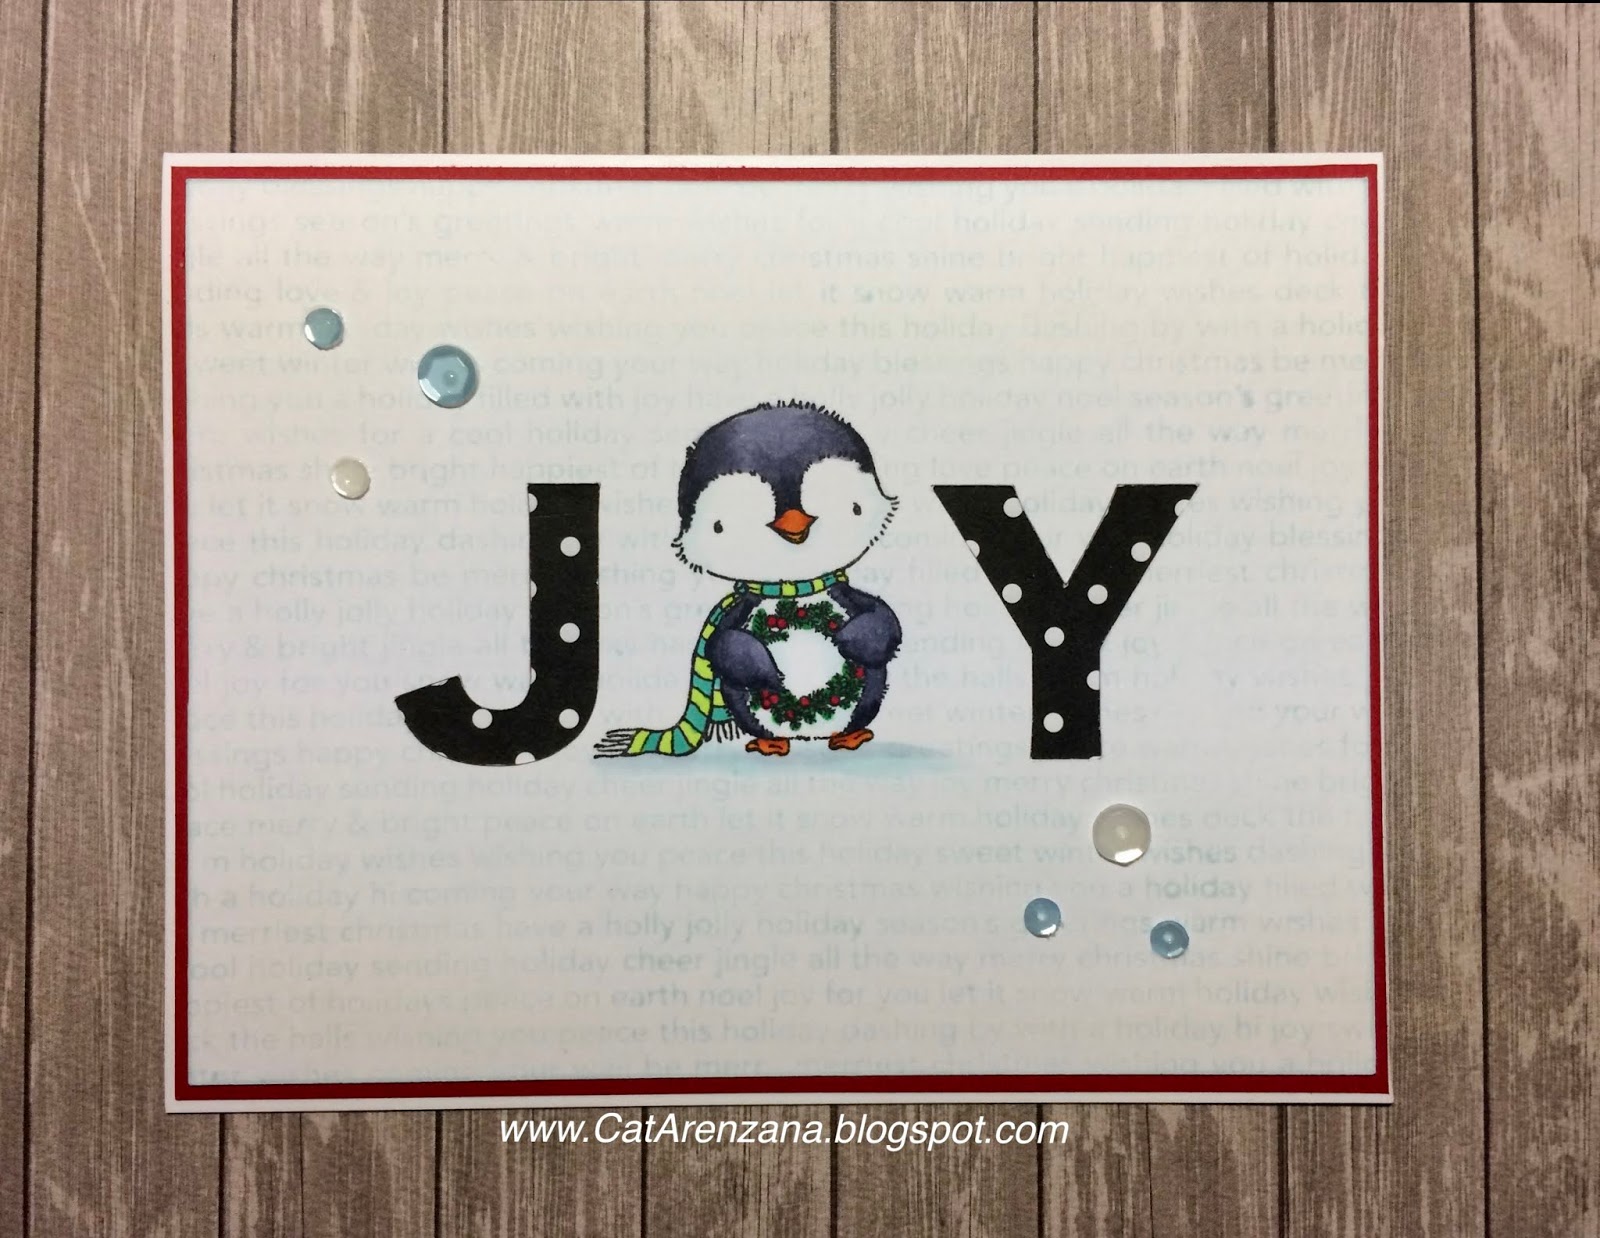
Penguin Joy

Oh, hi!  Whew, I went straight from Halloween cards to a Christmas card.  Which is unusual, because I do make Thanksgiving cards every year. But when these little penguins showed up at my door, I just had to whip up a quick card because, well . . . they are just too cute!

{Supplies used are linked in the text in this post.
Compensated affiliate links may be used at no additional cost to you.
Thank you for your support!}
So, I love the look of inlay die-cuts, but I don't have any alphabet dies, so for this card I used my Cricut to get that look.  I even show you how I did it in the video:


So, after I cut out the letters, I used my stamp positioner to get that little guy in just the right place.  He's from the Sweet Holiday Penguins set by My Favorite Things.  Then I colored him up with the following Copics:

Penguin - BV29. BV25, BV23
Beak and Feet - YR15, YR18
Shading on his face and belly - BG0000
Wreath - G09, R29
Scarf - YG01, BG13
Ground - BG0000, C1

After I was done coloring, I decided it needed a background.  So, I cut out a mask for the penguin and stamped the Christmas Background stamp in Sno-Cone Hybrid ink.  It added just enough.

I adhered the stamped panel to a red panel and then adhered that to a white A2 notecard.  I couldn't decide on whether or not to use the polka dot letters at first, but in the end, I'm glad I decided to use them.

Final step was to add a few sequins and Viola!  All done!

Thanks for visiting today!

Monday, October 22, 2018

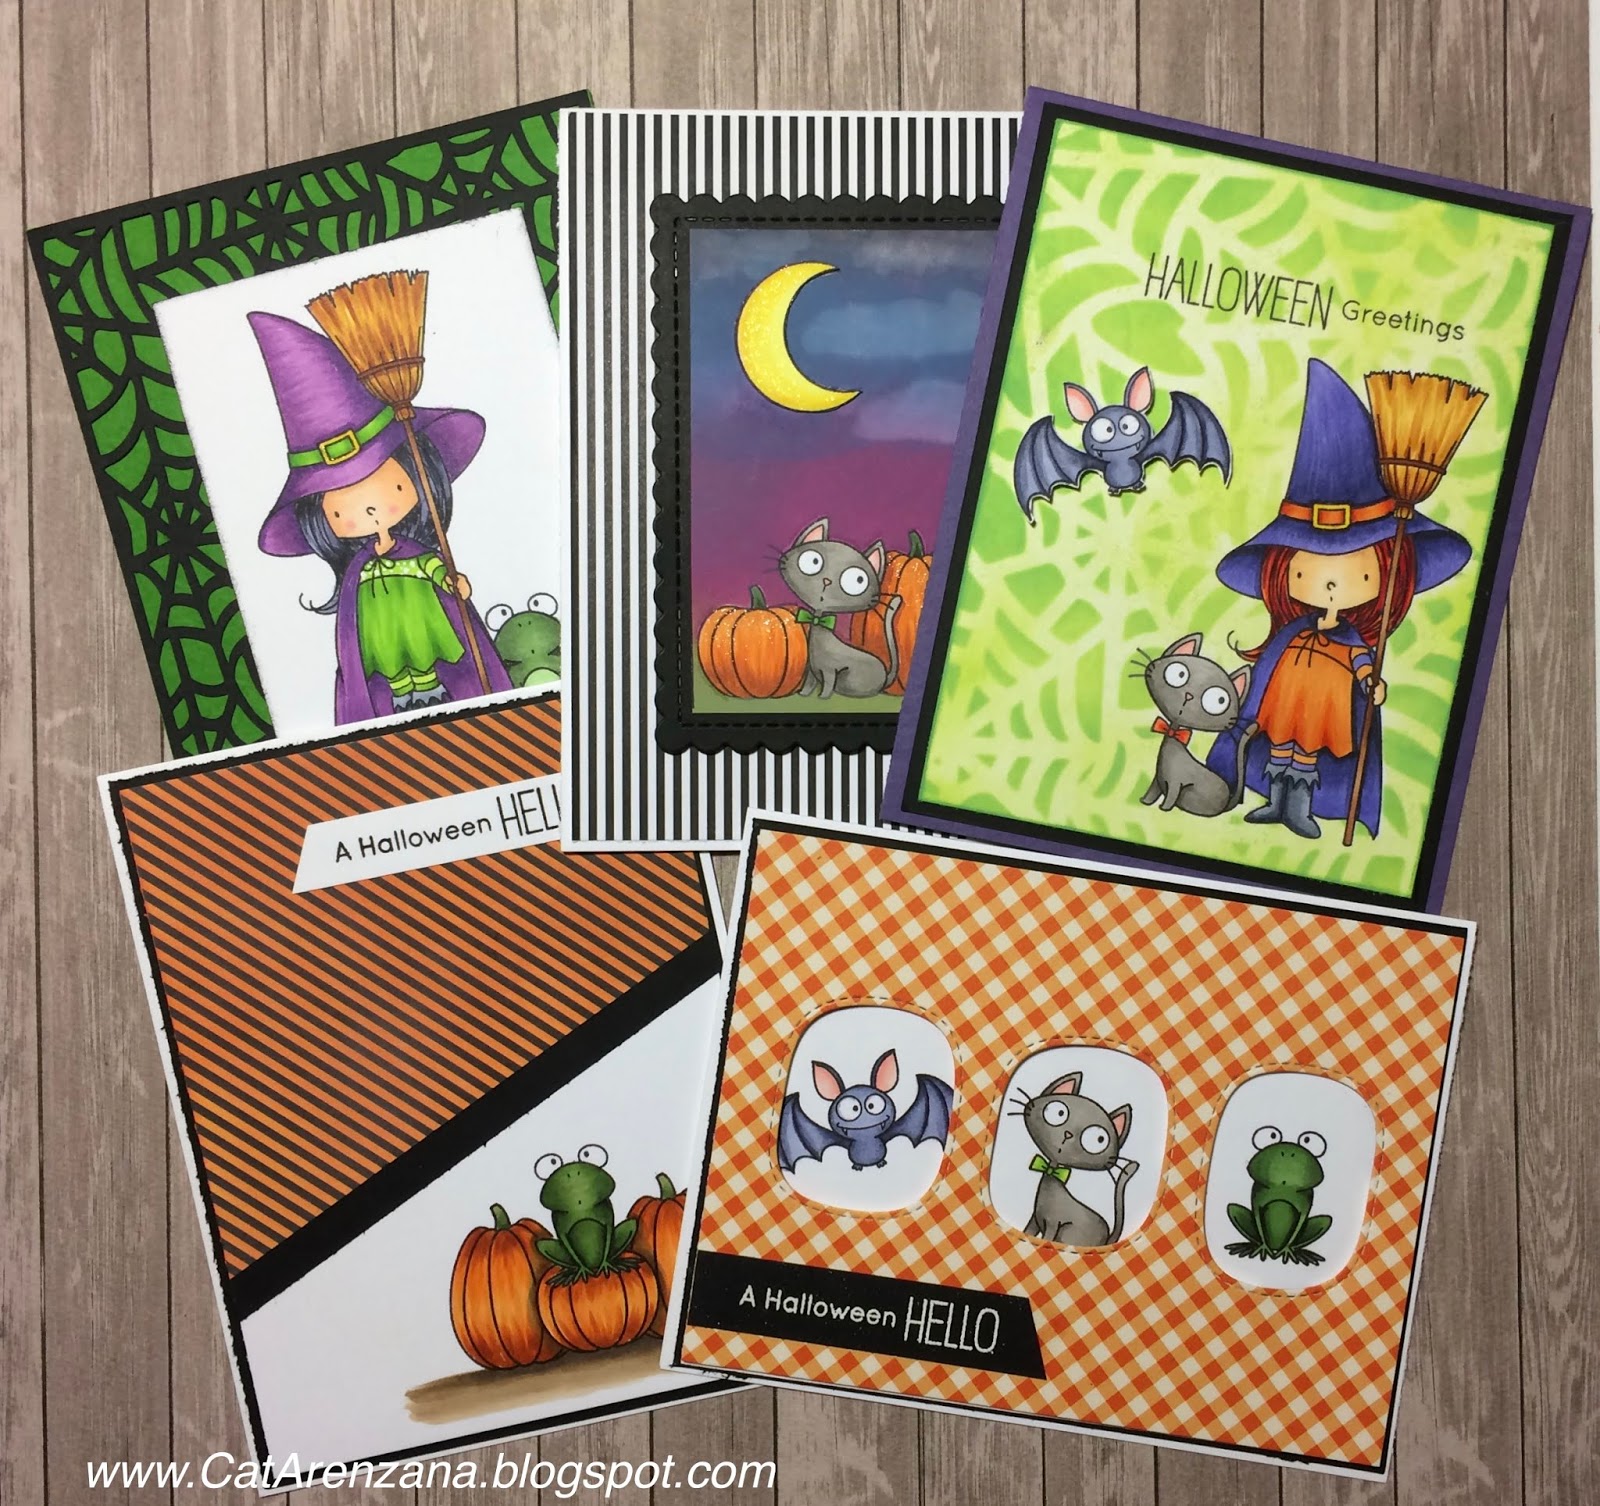
Witch Way is the Candy? - Card 5

Welp... here's the fifth and final card in my Witch Way is the Candy Halloween Series.  I really enjoyed using this set and creating videos.  I hope you enjoyed them, too.

{Supplies used are linked in the text in this post.
Compensated affiliate links may be used at no additional cost to you.
Thank you for your support!}


For this card, I started out by stamping the kitty and witch from the Witch Way is the Candy stamp set onto a piece of 80# Neenah card stock measuring 4. 25" x 5.5" using Memento Tuxedo Black ink.

Then I masked the images and very lightly added a layer of Twisted Citron Distress Oxide ink using a sponge.  Then I taped the stencil down and used an ink blending tool with Twisted Citron and Mowed Lawn Distress Oxide Ink.

I created the stencil using my Cricut Explore Air and the Spiderweb Placemat image from the Anna's Seasonal Soirees cartridge.  After all the stenciling was done, it was time to color!

Here are the Copics I used:

Cat - W1, W2, W3, W4, R00, R20; Bowtie - YR16, YR18
Witch Hat and Cape - BV02, BV13, BV17, BV29
Hair - YR02, YR04, YR09, R29, R59
Dress - YR12, YR14, YR15, YR16, YR18
Sleeves and Tights - YR12, BV02
Skin - E50, E51, E53
Hat Band - YR18, YR15, YR14; Buckle Y08
Boots - C1, C3, C5, C7
Broom Handle - E31, E33, E37
Broom - Y21, YR24, YR23, YR27, E09
Bat - BV20, BV23, BV25

After all the coloring was done, I trimmed down the stamped panel a bit and adhered it to a piece of black card stock and then finally, added that to a top folding purple A2 card.

Thanks so much for stopping by today!

Thursday, October 18, 2018

Witch Way is the Candy? - Cards 1 & 2

Oh, Hi!  It's been a minute or two since my last post, but I had this grand idea to create five cards with one stamp set and of course, a video to go along with it.  However, one video would have been almost an hour long, even with all the coloring sped up quite a bit, so instead, I'll be doing a series of 3 blog posts (and videos).


{Supplies used are linked in the text in this post.
Compensated affiliate links may be used at no additional cost to you.
Thank you for your support!}

Here's the video for the first two cards:
And here is the first card:


To get started, I stamped the frog and pumpkins from the Witch Way is the Candy stamp set onto a piece of scratch paper to get an idea for placement.  Once I was happy with that, I created masks for the frog and the pumpkins and used my stamp positioner to stamp the images on a 4" x 5.25" panel of Neenah Solar White card stock using Memento Tuxedo Black ink.

After all the stamping was done, it was time to do some coloring!

I used the following Copic Markers:

Frog - G99, G94, G43 and YG93
Pumpkins - YR27, YR15, YR12
Shading around the small pumpkin - W3, W4
Ground - E43, E42, W4

The striped paper is from the Black and White Basics paper pack from My Favorite Things.  But, I decided that I wanted it to be black and orange instead of black and white, so I used my Carved Pumpkin Distress Oxide ink and mini ink blending tool to change the color.

I adhered that on top of the stamped panel and trimmed down the excess.  I added a strip of black card stock to cover the seam from the patterned paper.  Then I mounted that onto a piece of black card stock measuring 4 1/8" x 5 3/8".  I adhered that to a top folding white card base and to finish off the card, I stamped the sentiment on a piece of white card stock and attached it with liquid glue.  Ta-da!  All done!

Next up, Card #2:


I started out by stamping and coloring the witch on a white panel.  I decided after I had her all colored that she needed a buddy, so I masked her off and stamped and colored the frog.

Here are the Copics I used:
Hat and Cape - V12, V15, V17
Buckle on the hat - Y08 and Wink of Stella Glitter Pen
Dress, Band on Hat and Tights - YG01, YG03, YG17, YG25
Broom Bristles - Y21, YR23, YR27, E09, E99
Broom Handle - E31, E33, E27
Skin - E21, E00, E0000, R20
Hair - 100, BV23, BV25, BV29
Boots - C1, C3, C5, C7
Frog - G99, G94, G82, G40
Ground - E43, E42

After I was done coloring, I cut the panel down to 2 3/4" x 4" and lightly inked the edges the with black ink.

For the spider web background, I turned to my trusty Cricut Explore Air to cut it out.  The image is the Spider Web Placemat from the Anna Griffin Seasonal Soiree digital cartridge.

Once I had it loaded on my digital mat, I resized it to 4.25" 5.5" so it would cover the front of my card.  Sent off to my Cricut to be cut from black card stock and Viola!  A really cool background!

I used a Ball Point Glue Pen around the edges of the die cut and a few dots of Tombow Multi Mono Liquid Glue in the centers of a few of the spider webs to adhere it to the front of a green top folding card.

I adhered the stamped panel to the front of the card and Ta-da!  All done.

Thanks so much for visiting today . . . and check back soon for the second video and the next two cards.

Thursday, October 11, 2018

Quick & Easy Halloween Cards . . .

. . . thanks to Distress Oxide Inks, a cloud stencil, a cute bat stamp, and my Cricut.

{Supplies used are linked in the text in this post.
Compensated affiliate links may be used at no additional cost to you.
Thank you for your support!}
Here's a quick video for ya, too:


Okey dokey!  The first thing I did was a quick search in Cricut Design Space to find some spooky Halloween images.  And lo and behold!  I found exactly what I was looking for.

Take this card for instance:


I just knew that the Spooky Forest Luminary from Rob and Bob would be perfect.  So, I added the image to my project mat and sized it to 5.5" x 4.25" and let my Cricut do the rest.

In the meantime, I started inking up a background using Black Soot, Seedless Preserves and Wild Honey Distress Oxide Inks.

I didn't use a mini ink blending tool like I normally do; instead I used a round sponge that I cut into wedges. (I get the sponges at Michael's. They come in a 3 pack and only cost $3.00.) I very lightly dabbed each of the colors onto a piece of gray card stock.  Once I had the base layer of ink down, I used the cloud stencil and applied more ink with a heavier hand.  After I was happy with the clouds, I went over the panel again to blend some of the areas.

I adhered the Spooky Scene on top of the background using my Ball Point Glue Pen and Tombow Multi Mono Glue.  I did trim the tiniest bit off the spooky scene just to show a little bit of the gray card base.

Ta-Da!  All done!

For the second card, I had my handy little Cricut cut out the Happy Halloween image from the Dimensional Scenes Spooky Hollow Cartridge.  Now then, I gotta tell ya, there is an arch and few more wrought iron spikes, but I trimmed them off so the center would be more open.


For the cloudy sky, I used the same inks as I did for the first card.  Then I adhered the Happy Halloween cut out using my liquid glues.

And those bats!  How cute are they??  They are from the Witch Way is the Candy stamp set from My Favorite Things.

I stamped them onto a piece of Neenah Solar White Card Stock using Memento Tuxedo Black ink.  I colored them up with  Cool Gray Copics (C1, C3, C5 and C7) and I colored the inside of their ears with R00 and R20.

After I cut them out by hand, I adhered them to the front of the card with foam tape.  Abracadabra!  All done!

Thanks for visiting today!

Thursday, April 26, 2018

Happy Birthday Hippo

I recently got my hands on the super cute Happy Hippos stamp set from MFT and when I saw the inspiration board for this weeks Tic Tac Toe Challenge, I just knew I had to use them along with the Celebration Balloon Collage from PoppyStamps.


I chose the diagonal from the bottom left going up to the top right.


I wasn't planning on posting a "how-to," but there were a few steps involved to get those yellow balloons.  And, I apologize in advance for the really bad pictures; I had initially taken them so I would remember how I made the card.

So, the first thing I did was cut a piece of patterned cardstock to 4" x 5 1/4" and then placed the Celebration Balloon Collage die in the center and ran it through my Big Shot.


Then I cut it again from a piece of yellow cardstock.


I cut the balloons away from the frame.  As you can see, I wasn't too neat about it because I knew I was going to put a frame over it.


Now to get that black frame to fit around the Balloon Collage die, I did a little dance with my Cricut machine.  If you would like to know which image I used and the measurements, drop me a comment and I'll gladly share it with you.

And finally, I cut a piece of white card stock just a tad bit smaller than the patterned card stock to "fill in" the frame.

Thanks for stopping by today!

Wednesday, January 3, 2018

The Last Two Years . . .

. . . have been a whirlwind.  And I have definitely slacked on keeping this little blog o'mine up to date.  But ya know what?  My blog(s) have always been crafty blogs . . . mostly stamping and card making, with an occasional art journal page and paper crafting project thrown in for good measure.

And I've wanted to get back to a crafty blog . . .sooooooooo, I'm going to sum up the last two years using bullet points (so as not leave you hanging) . . .you know. . . like bullet journaling . .. only on a blog.

Ready?  Here we go:

* We lived in a hotel for six weeks until we found the cutest little house that is perfect for us.


* Six weeks later my beloved car of 17 years, Emily finally gave out.


* Two weeks later, our sweet little Jacob found us. . . Morgan got a brother!


* Two weeks after that, we celebrated our first Christmas in Texas.


* Three months later, our sweet little Jacob got sick. . .very, very sick.  He caught Leptospirosis and spent a whole week in the hospital.


* We were so happy (and relieved) when he finally got to come home.


* I finally decided on furniture for my craft room . . . I think that was the most difficult room to unpack and put together . . . and it took a really long time to get things organized and put away. . .


Once I did though . . . I started crafting right away . . . but all those will be posted a bit later. . .

*Spring 2016, Morgan blew out her knee . . .we opted not to put her through the surgery due to her age and she has anxiety issues, too.  Since she injured her knee, we had to shorten our walks. . . until we got her a cart.


At first, they weren't too sure about it, but they got used to it pretty quickly.

* One of the things we like to do is go on long walks down by the river . . . spring is the perfect time, because, well . . .summers are definitely hot here.


I gotta tell ya . . . the wildflowers here are absolutely beautiful.

Summer 2016, because it does get so hot, I learned how to make lemonade concentrate from scratch.. . it turned out amazing!  And, I tend to cook outside during the summer . . .and Jacob proudly watches over whatever is cooking.  And, I finally got a flag for the front of the house.


Fall 2016 . . .  Fall is definitely my favorite season . . . I love a good thunderstorm, and of course Halloween . . . oh, and, after almost a year of being without one. . . we finally bought a car.


Winter 2016 . . . We have been in our house a little over a year and absolutely love living here.  We've settled in to a "routine" as it were.   And I started stamping more and more since we were finally settled in.


Jan. - Mar. 2017 . . . 


April - June 2017 . . .


July - Sept, 2017...
I decided to take a Yoga Teacher Training Class that was offered at YogaPod . . . it was 200 hours in nine weeks.  It was intense . . . but the instructors were absolutely amazing . . . and my classmates were awesome, too!  Beautiful souls . . .each and every one of them.   


And . . . I got some stamping and coloring squeezed in there, too . . .


 And we also went to our first Baylor game . . . it was sooooo much fun!


Oct. - Dec. 2017 . . . 


And we finished out 2017 with snow. . . 

And there you have it . . . two years in one very long post.

Thanks for stopping by!
10